I recently needed to burn a new OBP PROM for my SPARCstation 1. I’m always on the lookout for CG6 TGX+ SBus framebuffers for my SPARCstations and found someone selling a set of three for an unbelievably low price. These framebuffers are my favorite because they can drive LCD displays at 1280x1024, a more standard resolution than Sun’s native 1152x900.
But my SPARCstation 1 came with OBP version 1.0, which would not recognize the TGX+ card. After some research I determined that the last revision of OBP for the SPARCstation 1 was version 2.9. I have most of the Sun ROM images archived, so I checked and fortunately had that one.
I’d had to burn a PROM before for my IPC to get it to OBP 2.9 as well, though I don’t recall the specific reason. Fortunately, when I bought the blank PROMs for that machine I bought three in case I made a mistake, so I had the correct chip on hand.
Why OBP 2.9?
The SPARCstation 1 originally shipped with OBP 1.0, an early version of Sun’s OpenBoot firmware. While functional for the hardware available at the time, OBP 1.0 lacked support for SBus cards introduced later in the SPARCstation product line.
The CG6 TGX+ framebuffer is one of those later cards. It was designed for machines like the SPARCstation 2, IPX, and later sun4c and sun4m systems. When installed in an SS1 running OBP 1.0, the firmware simply doesn’t probe the card correctly and won’t initialize it. Upgrading to OBP 2.9 adds the necessary SBus device support, allowing the TGX+ to be recognized at boot.
For a full list of the last available OBP versions for each Sun workstation, see Last OBP Firmware Versions.
The Programmer

I’m a Mac user, but I keep a Windows laptop specifically to run my PROM burner. The programmer is the MiniPRO TL866II Plus, a USB universal programmer that handles a wide range of EEPROMs, EPROMs, and microcontrollers. These are marketed under various names, but a search for “TL866II Plus” on Amazon will turn up many options. They run around $50 to $70 and are well worth having for vintage computer work.
Setting Up the Burn

You connect the programmer to your Windows machine via a USB cable and launch the Xgpro software that comes with the TL866II Plus. The software provides chip selection, reading, writing, and verification functions.
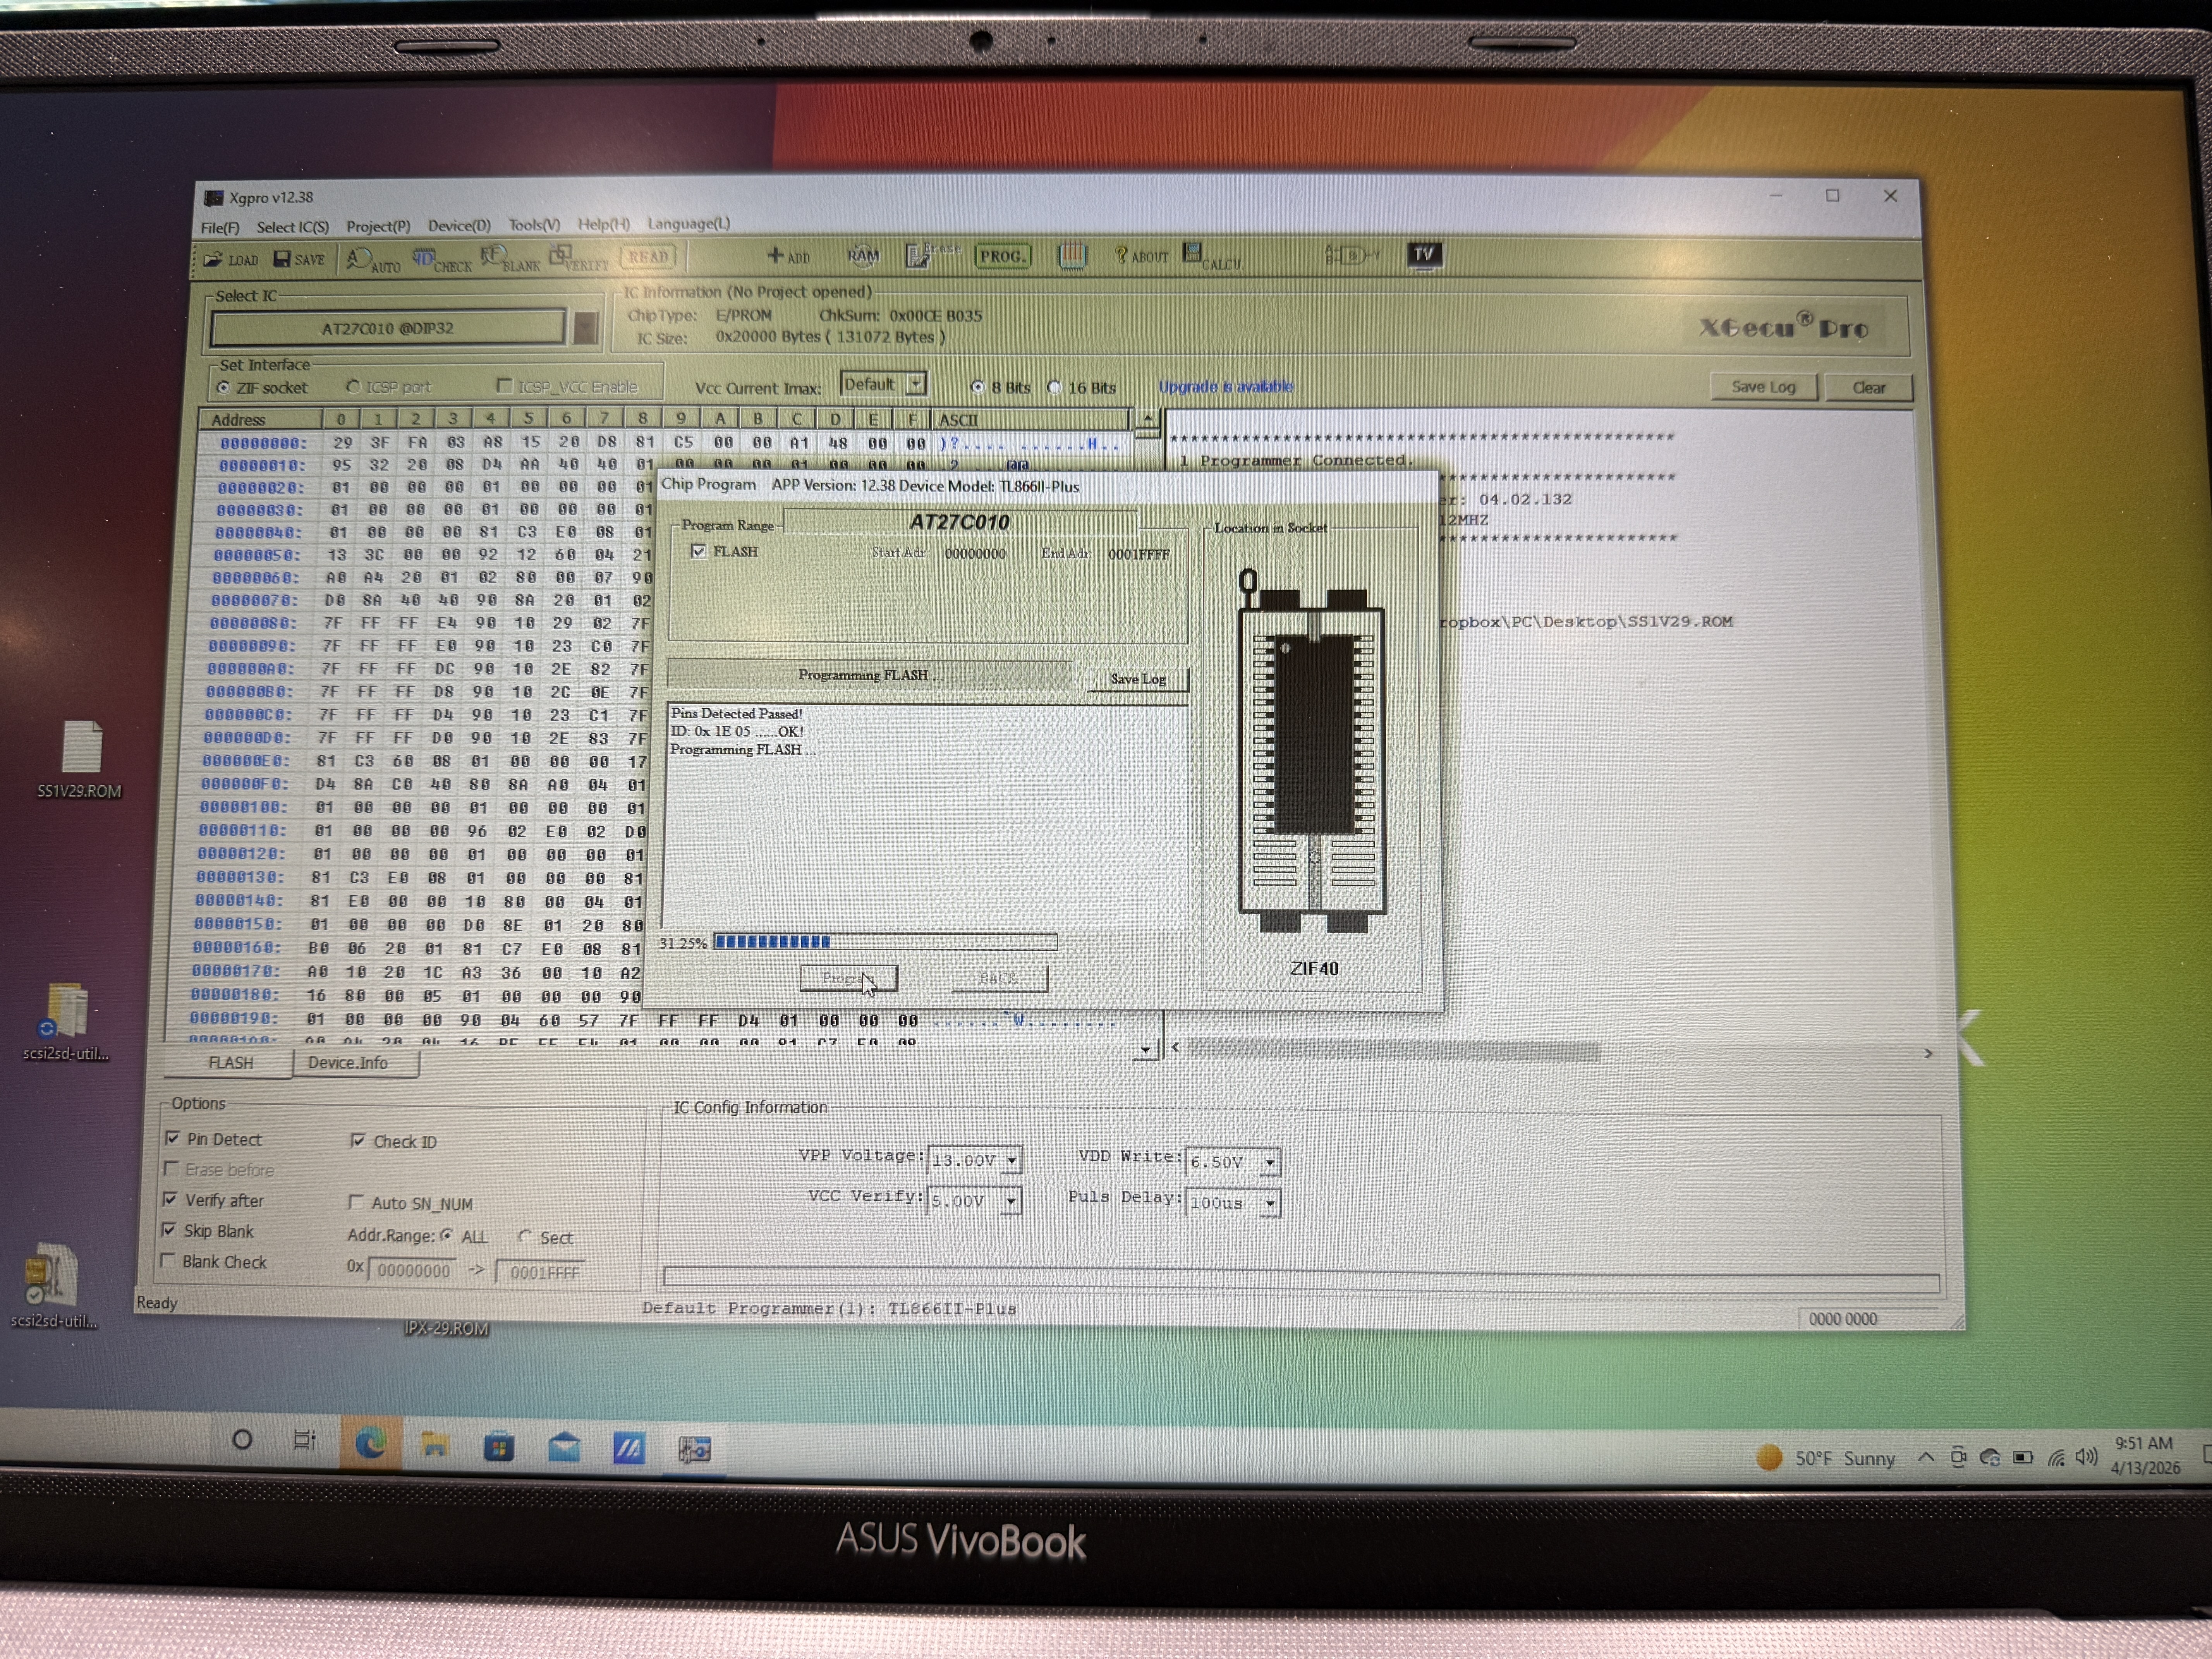
It is important to select exactly the chip you have. In this case the PROM is an Atmel AT27C010, a 1-megabit (128K x 8) one-time programmable EPROM in a DIP-32 package. The MiniPRO is pretty good about verifying the chip against your selection—I initially had the AT27C020 (a 2-megabit part) selected, and the programmer flagged the mismatch before I could burn anything.
After selecting the correct chip, use the load button to load the OBP ROM image file. Then press the program button. After a few minutes of writing and verification, you have a new PROM ready to install.
Installation
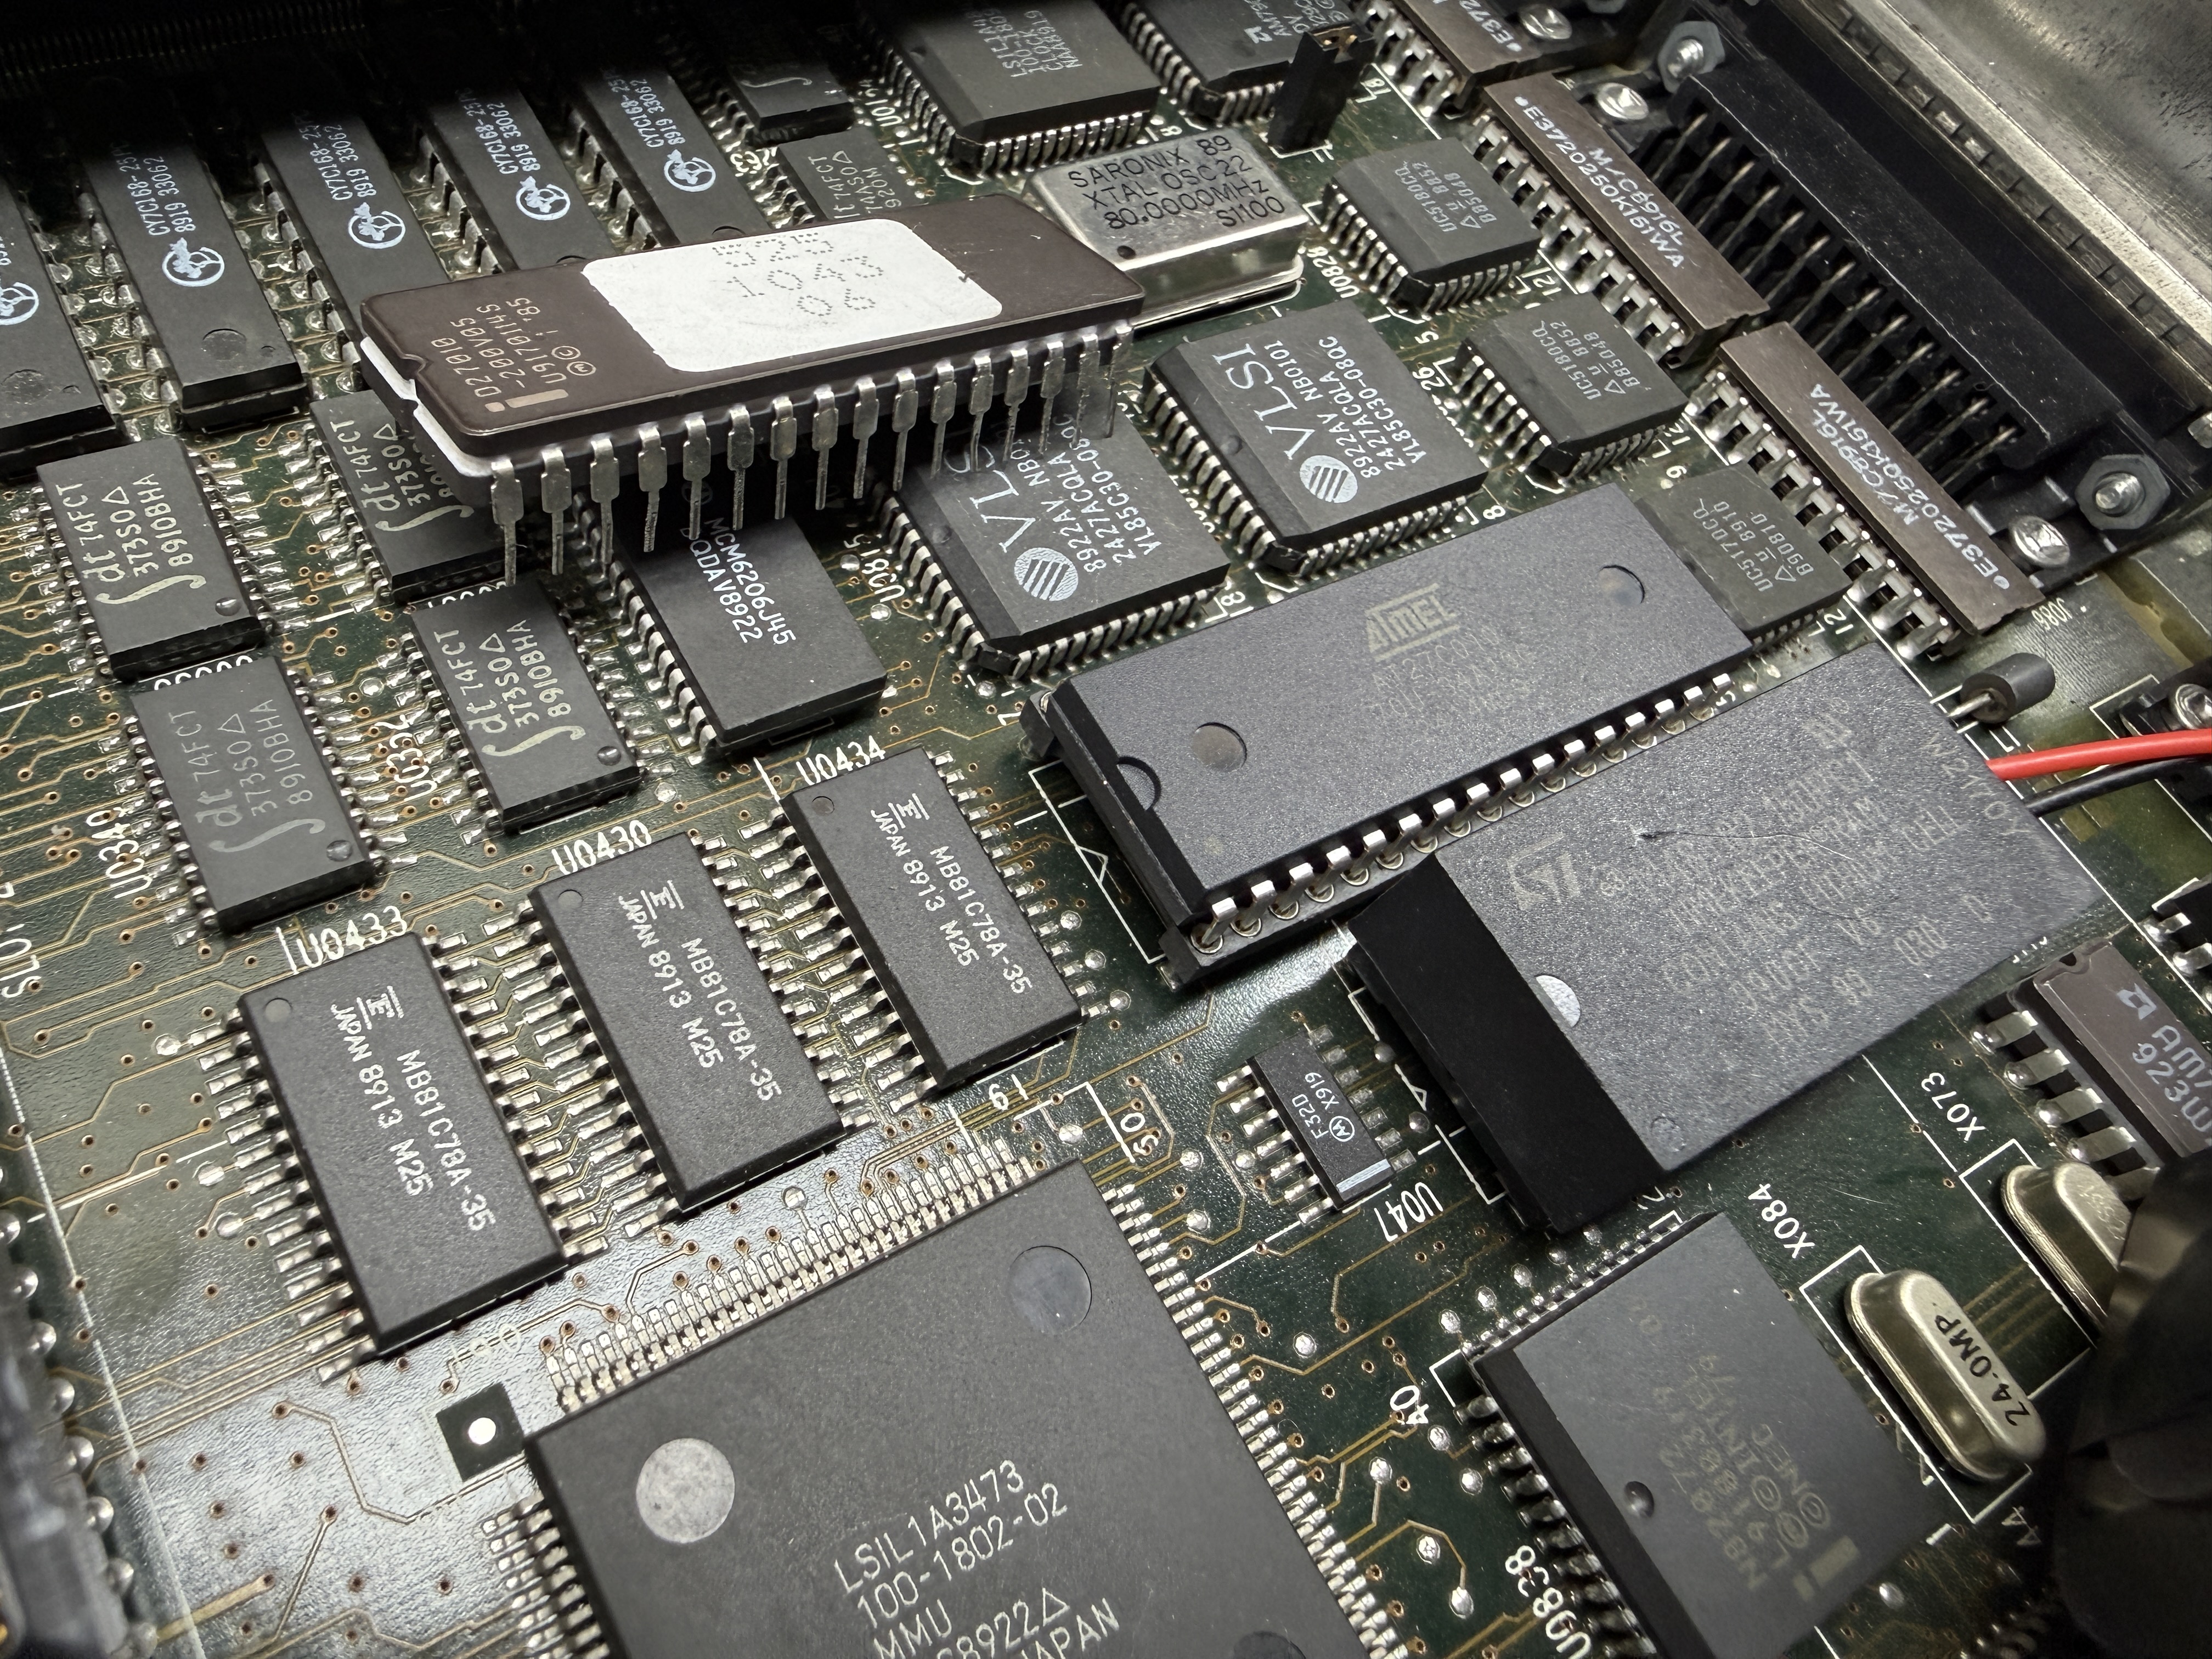
The OBP PROM on the SPARCstation 1 sits in a standard DIP socket on the motherboard. Removal and installation is straightforward—note the orientation of the chip before pulling the old one, and seat the new PROM firmly with the notch aligned to the socket marking. A chip puller tool helps avoid bending pins, but careful work with a small flat-blade screwdriver works in a pinch.
Result

I installed the freshly burned PROM in the SS1 and powered it up. The boot banner confirmed ROM Rev. 2.9, and the machine probed and found the CG6 TGX+ card in SBus slot 3 without issue. The system is now running at 1280x1024 on a standard LCD monitor.
OTP vs UV-Erasable EPROMs
The AT27C010 is a one-time programmable (OTP) chip—once you burn it, that’s it. If you think you might want to erase and reprogram the chip later, you can use a UV-erasable EPROM instead, such as the 27C010. These are the chips with the small quartz window on top that allows UV light to reach the die and clear the contents. You’ll need a UV EPROM eraser to wipe them, which takes about 15 to 20 minutes under the lamp.
I generally just use the OTP parts. They’re cheaper, more readily available, and for something like an OBP PROM that you burn once and leave in the machine, there’s no practical reason to erase it later.
Parts and Tools
| Item | Approximate Cost |
|---|---|
| MiniPRO TL866II Plus programmer | $50-70 |
| Atmel AT27C010 blank PROM (OTP) | $3-5 each |
| 27C010 UV-erasable EPROM (optional) | $5-10 each |
| UV EPROM eraser (if using erasable) | $20-30 |
| OBP 2.9 ROM image | (archived) |
The programmer is a one-time investment that pays for itself across multiple projects. Blank AT27C010 chips are still readily available from electronics suppliers and eBay.